Apply Direct Pay payments
Direct Pay allows employees to pay for their healthcare premiums when they're no longer covered under the group plan as active employees.
You might need to apply a member’s Direct Pay payment so that their eligibility is properly credited for the following reasons:
- A member mails a check for payment.
- A member makes an ACH or credit card payment in the Member portal.
- A member’s payment must be credited to two different billing periods.
Access Direct Pay
- Search for and open the member record.
-
From the
Paymentsmenu, clickDirect PayOR from theMembermenu, selectDirect Pay Entitlement. - Click the
Paymentstab. - From the
Payment Informationsubtab, choose theDirect Payment Entitlement. - The
As of Datedefaults to a date based on SAC ELG <8>. Adjusting this date updates the data the displays in thePayment Informationtable. - Modify your filters, rows, groupings, and column order (see Filter, Group, and Sort).
- Create new views from the options menu
 (see Views).
 - Save and remove table formatting from the options menu .
- Export from table or Print from table from the table options menu .
- From the
I would like tolist, you can perform the following actions: - Make a Payment
- Reverse a Payment
- Transfer an Amount Between Entitlements
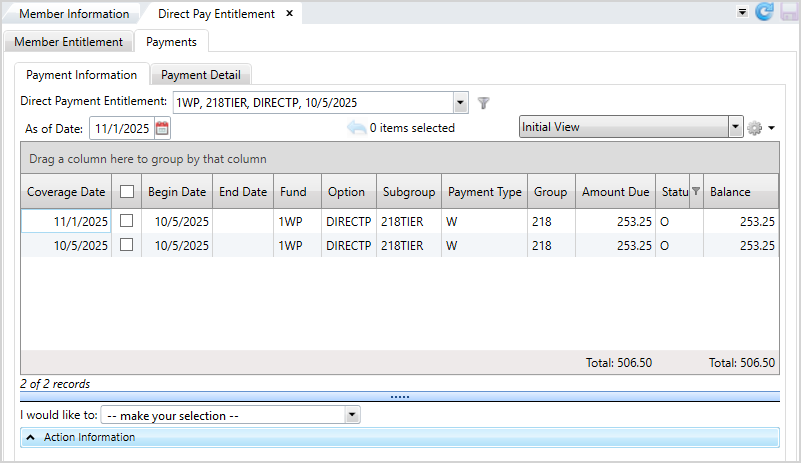
| Field | Description |
|---|---|
| Payment Information | |
| Coverage Date |
Applies to the Period Based posting method only. This is the start date for eligibility earned by payment of the premium. This might be a date in the future. |
| Fund | The fund associated with the direct pay payment. |
| Begin Date | The begin date of the direct pay entitlement. |
| End Date | The end date of the direct pay entitlement. |
| Option | The fund associated with the direct pay payment. |
| Subgroup | The fund associated with the direct pay payment. |
| Group | The fund associated with the direct pay payment. |
| Payment Type | The type of payment. Displays Late Fee for late charges. |
| Amount Due |
The amount of the member's premium. Applies to the Period Based posting method only. |
| Balance | The member's entitlement balance. |
| Status | The status of the member entitlement. |
| Payment Detail | |
| Received Date | The date the payment was received. |
| Principal Amount | The dollar amount of the payment. |
| Fees Paid | The amount of fees paid by the member. |
| Deposit Date | The date the payment was deposited. |
| Deposit Number | The reference number of the deposit. |
| Transaction Type | The payment method used (check, ACH, credit card, etc.). |
| Transaction ID | The ID number associated with the transaction. Required if the Transaction Type is Check. |
| Operator | The ID of the operator who posted the payment. Displays Web is the member paid through the Member portal. |
| Comment | A comment about the payment. |
| Settlement Status | The status of the payment settlement. |
You can perform the following actions to customize the table's display:
Make a Direct Pay Payment
You can make Direct Pay payments using two methods: Balance Forward or Period Based.
For the Balance Forward posting method, the whole payment amount is automatically applied to the oldest unpaid period.
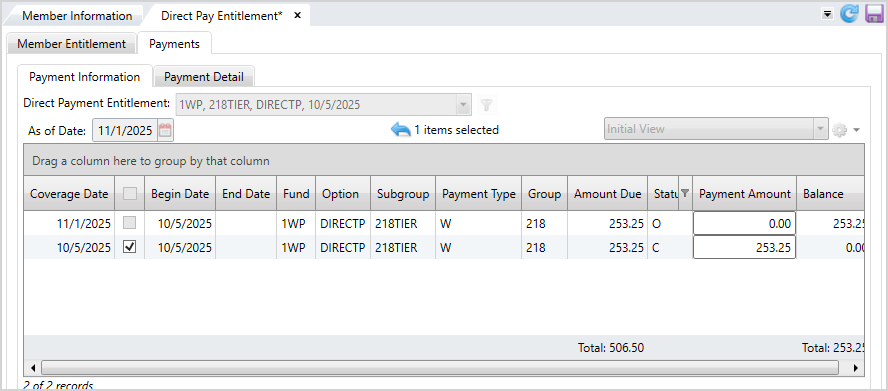
If your posting method is Period Based, then you must apply the payment to a specific coverage period. If you didn't apply the full payment amount, you can select another coverage date and post some or all of the remaining amount to it. You won't be able to save the posted payments until the remaining payment amount is zero.
- You can either pre-select a detail row(s) by clicking the check box to apply a payment or select the row after choosing the
I would like toaction. - Select
make a paymentfrom theI would like tolist. - Choose the
Received DateandDeposit Date. These dates default to the current date. If you need to change either of the dates, enter the date inMM/DD/YYYYformat or click to select a date.
 - Choose the
Deposit Type. This field defaults to DP for Direct Pay. - In
Transaction Type, select the payment method. - Enter the
Transaction ID. This field is required if the member is paying by check. - Enter the
Payment Amount. - Enter an optional
Commentabout the payment. - Click
 .
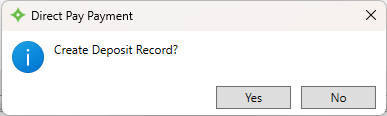
. - A message displays asking if you'd like to create a deposit record. Click
 to create it or
  to not create one.
 - Choose from one of the following options depending on how you selected to apply the payment:
- If you pre-selected rows, the payment is applied from the top of the table down to any rows with a balance lower or equal to the
Payment Amount. For balance forward, the oldest outstanding entitlement balance is selected first, with the amount you entered applied to this transaction first. The remaining amount will then automatically apply to the second oldest entitlement and so on. For period based, enter the amounts for each period you previously selected. - If there’s a
Balanceleft, select a row and change the amount in thePayment Amountcolumn or select another row and apply another payment until theBalanceis $0.00. - If you didn’t pre-select a row, click the check box next to the row(s) and apply the payment. Continue to select rows and enter the amount in
Payment Amountuntil the full payment is applied. For balance forward, the oldest outstanding balance is selected first, with the amount you entered applied to this transaction first. For period based, enter the amounts for each period. As you apply the payment, theBalanceupdates. - After you’ve applied all money, click
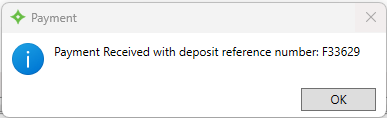
 to update the table and post the payment. A message will display the refno. Click
  .
. - The member's total
Amount Dueand totalBalancecolumns update for the rows you paid. - If you overpaid, a message will display that the amount you entered is over the remaining balance. You can choose to apply this amount to future payments. If the member doesn't have any remaining entitlements, this process posts the remaining balance to the most recent entitlement and the member will receive a credit.
- If applicable, saving a payment may recalculate a member's eligibility.
- The payment now displays in the
Payment Historytable onMember Entitlementtab or in thePayment Detailsubtab.


OR
Payment Amount and updates the Balance. to cancel the payment and return to the
 I would like to actions.

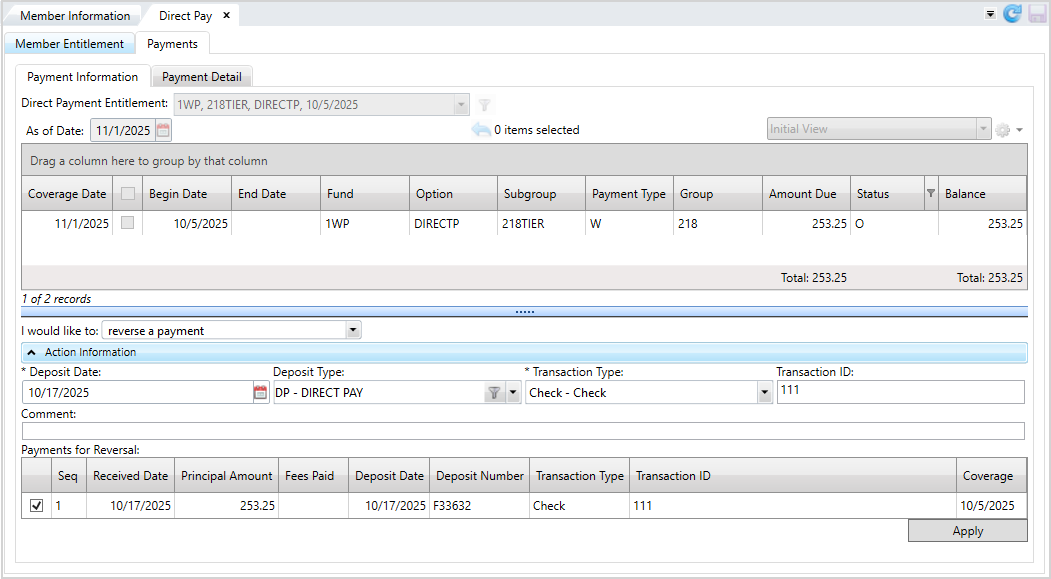
Reverse a Direct Pay Payment
- Select
reverse a paymentfrom theI would like tolist. - Choose the
Deposit Date. This date default to the current date. If you need to change the date, enter the date inMM/DD/YYYYformat or click to select a date. - Select the
Deposit Typeused for the payment. This field defaults to DP for Direct Pay. - Choose the
Transaction Type. - Enter the
Transaction ID. - In the
Payments for Reversaltable, select the check box of the eligible payments to reverse. The table includes all previously paid periods. - Click .
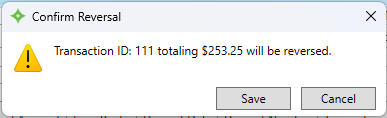
- At the message, click
 to confirm the reversal or
  to return to the Direct Pay payment screen without reversing the payment.
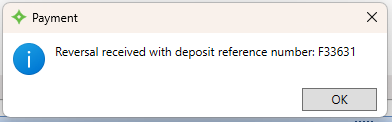
 - A message displays after reversing the payment with the reversal's reference number. Click .
- The
Amount DueandBalancecolumns update for the row(s) you reversed as well as theTotalamounts for the member. - View the reversal in the
Payment Detailsubtab or in in thePayment Historytable onMember Entitlementtab.
Transfer an Amount Between Entitlements
![]()
- Select
transfer an amount between entitlementsfrom theI would like tolist. - Choose the entitlement payment to transfer for the table. Then, click .
- From the window, select which entitlement to which you're transferring the payment. Then, click
 to apply the transfer or to return to the Direct Pay screen without transferring.
 - A message displays if you transferred the payment to another entitlement. Click to continue.
- The
Amount DueandBalancecolumns update for the row(s) you transferred as well as theTotalamounts for the member. - View the transfer for entitlement in the
Payment Historytable orPayment Detailtable.
![]()
![]()
![]()
![]()
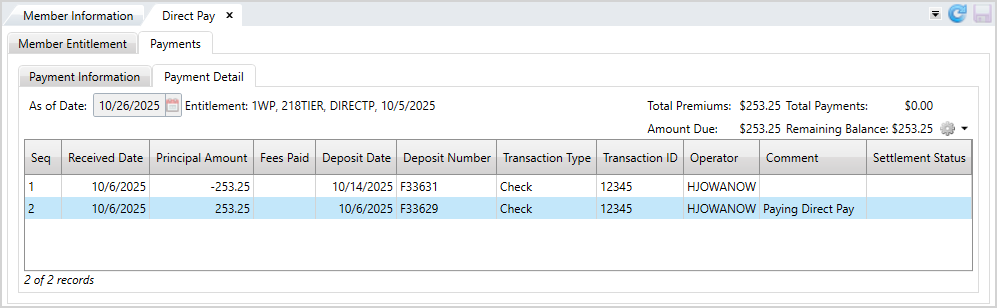
View Direct Pay Payment History
View all details associated with Direct Pay payments.
| Field | Description |
|---|---|
| Seq | The sequence. |
| Received Date | The date the payment was received. |
| Principal Amount | The dollar amount of the payment. |
| Fees Paid | The amount of fees paid by the member. |
| Deposit Date | The date the payment was deposited. |
| Deposit Number | The reference number of the deposit. |
| Transaction Type | The type of payment method used for the transaction (check, ACH, credit card, etc.). |
| Transaction ID | The associated transaction number of the payment. |
| Operator | The ID of the operator who posted the payment. |
| Comment | A comment about the payment. |
| Settlement Status | The status of the payment settlement. |
- Search for and open the member record.
-
From the
Paymentsmenu, selectDirect Pay. - Select the
Paymentstab. - From the
Payment Informationsubtab, choose theDirect Payment Entitlement. If needed, you can change theAs of Dateto view payment information for a different time frame. - Then, click the
Payment Detailsubtab to view information about the payments. You can view the member'sTotal Premiums, Total Payments, Amount Due,andRemaining Balance.